I. Feature Overview
You can add chapter headings to your document. Once added, a table of contents will be automatically generated and displayed on the left side of the document body. Clicking on a table of contents node allows you to quickly jump to the corresponding section. When your document contains substantial content, you can also collapse chapter headings and the table of contents to focus on key content.
Note: In addition to the methods described above, you can also add a table of contents within the document body using the Table of Contents navigation widget. For more details, please refer to the documentation on using the Table of Contents navigation widget.
II. Operation Procedures
Adding Chapter Headings
Open your document. You can add chapter headings using either of the following two methods:
Method 1: Insert the chapter heading style first, then enter the heading text. This method includes two approaches:
- Type
/at the beginning of a line, select H1, H2, H3, or other heading levels from the toolbar that appears, then enter your content on that line. - Hover your mouse over the beginning of a blank line, click the icon that appears on the left, select H1, H2, H3, or other heading levels from the toolbar, and enter content on that line.
Method 2: Enter the chapter heading text first, then apply the chapter heading style. This method includes two approaches:
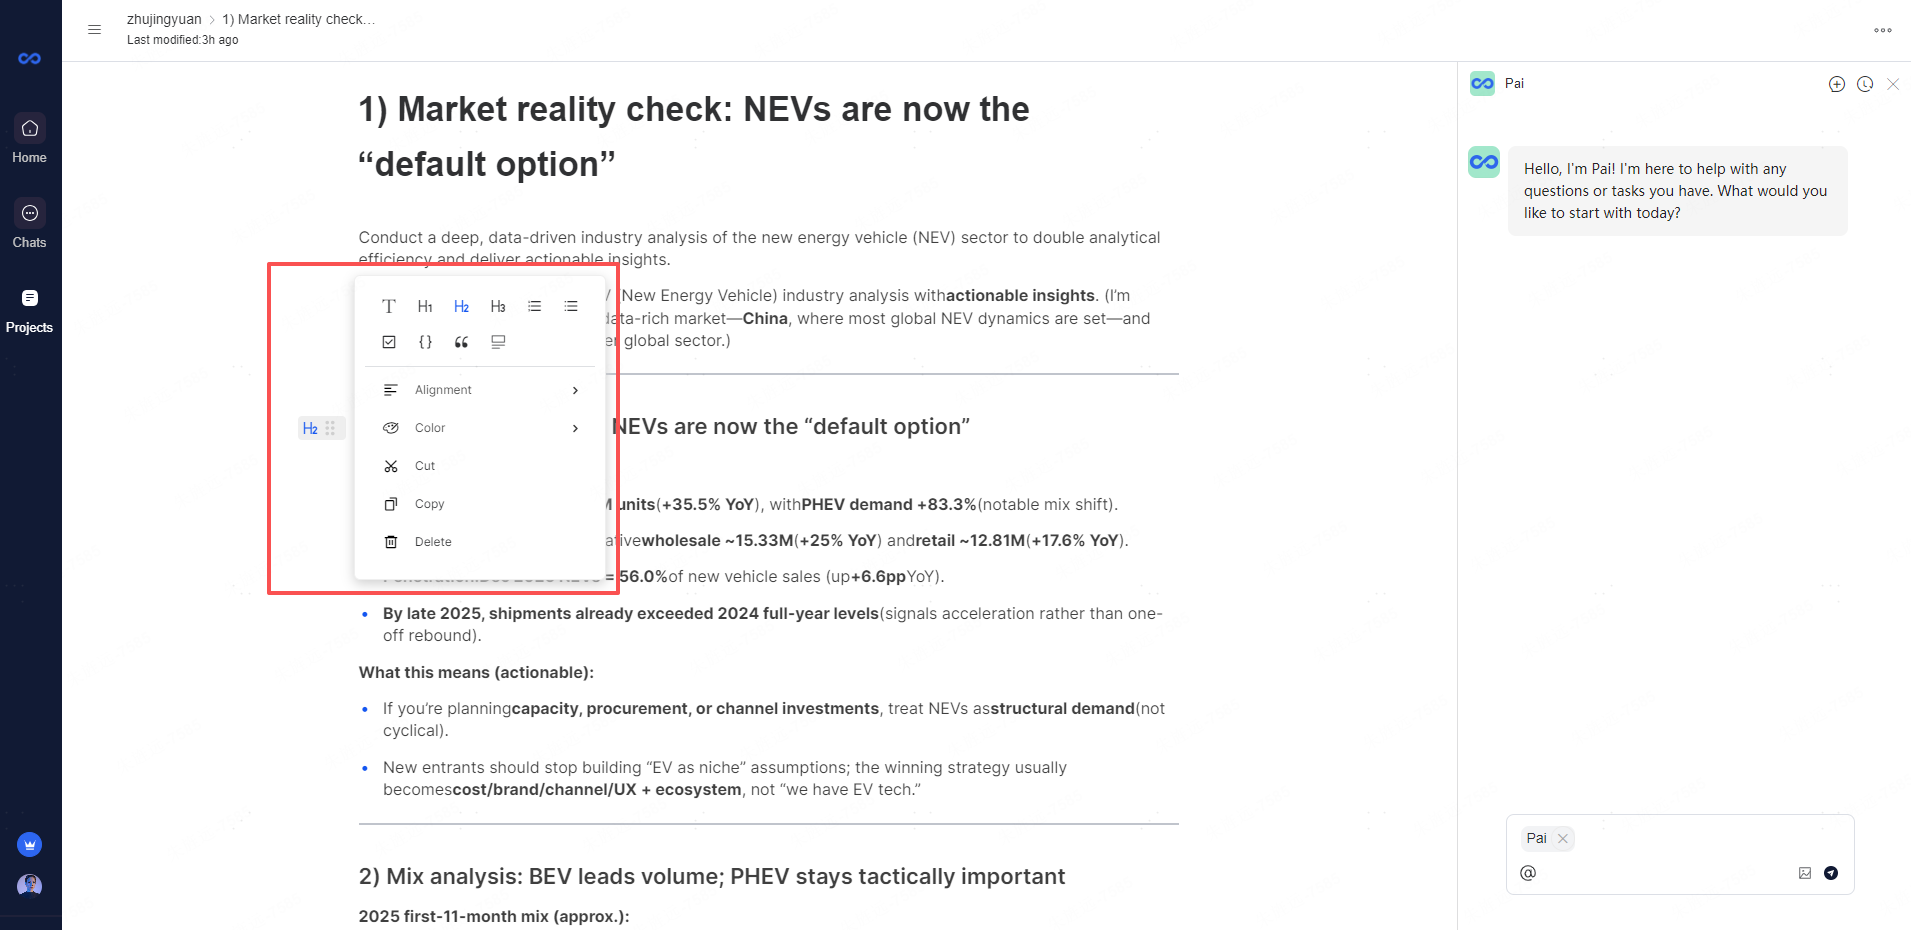
- Hover your mouse over the text you intend to use as a chapter heading, click the icon that appears on the left at the beginning of the line, then select H1, H2, H3, or other heading levels.
- Select the text you intend to use as a chapter heading, click the T icon in the toolbar that appears, then select H1, H2, H3, or other heading levels.
After adding chapter headings, you can also add numbering to them by setting the chapter headings as ordered lists to achieve the effect shown in the image below. For specific information on using ordered lists, please refer to the documentation on using ordered and unordered lists in documents.
Automatic Table of Contents Generation
After adding chapter headings to your document, a table of contents composed of these headings will be automatically generated on the left side of the document body. When you edit or modify chapter headings in the document body, the table of contents generated on the left will automatically synchronize and update accordingly.
Note: The table of contents generated through this method is not part of the document body and cannot be printed along with the document body. If you need to generate printable table of contents content, we recommend using the Table of Contents navigation widget.
Collapsing Chapter Headings and Table of Contents
When your document contains substantial content, you can collapse chapter headings or the table of contents within the document to focus on key content.
Collapsing Chapter Headings
Open your document, hover your mouse over the chapter heading you wish to collapse, and click the Collapse icon that appears on the left to fold the content under that chapter heading. Once collapsed, all sub-headings and body text under that heading will be hidden, and the corresponding node in the left-side table of contents will also be hidden.
To expand it again, hover your mouse over the chapter heading and click the Expand icon that appears on the left.
Notes:
- Hover your mouse over a collapsed chapter heading, click the icon that appears on the left > Copy to copy all content under that chapter heading at once.
Collapsing the Table of Contents
You can collapse individual table of contents nodes or collapse the entire table of contents.
Collapsing a table of contents node: Open your document, hover your mouse over the table of contents node you wish to collapse in the left-side directory, and click the icon that appears on the left to collapse that node. Once collapsed, all subordinate nodes will be hidden. To expand it again, hover your mouse over the table of contents node and click the icon that appears on the left.
Note: The collapsed state of table of contents nodes is subject to the collapsed state of chapter headings. For example, if a table of contents node was originally in an expanded state, it will automatically become collapsed if the corresponding chapter heading is folded.
Collapsing the entire table of contents: Click the Collapse Directory icon in the upper left corner of the table of contents to hide all directory nodes at once. To expand it again, click the Expand Directory icon in the upper left corner of the table of contents.
Note: Your settings for collapsing or expanding the entire table of contents in a particular document will not affect how others view the table of contents state when browsing that document, but will apply to all other documents you browse.
Ask AI Feature
The Ask AI button (shown with a sparkle icon ✨ in the formatting toolbar) enables users to leverage artificial intelligence directly within the document workflow. This feature allows you to:
- Generate content: Request AI assistance to draft sections, expand on bullet points, or rewrite paragraphs based on your prompts
- Analyze data: Ask the AI to interpret complex datasets, identify trends, or summarize lengthy information—particularly useful for industry analysis like the NEV market data shown
- Refine writing: Improve clarity, adjust tone, or restructure content without leaving the document
- Brainstorm ideas: Get suggestions for angles, frameworks, or actionable insights when developing strategic documents
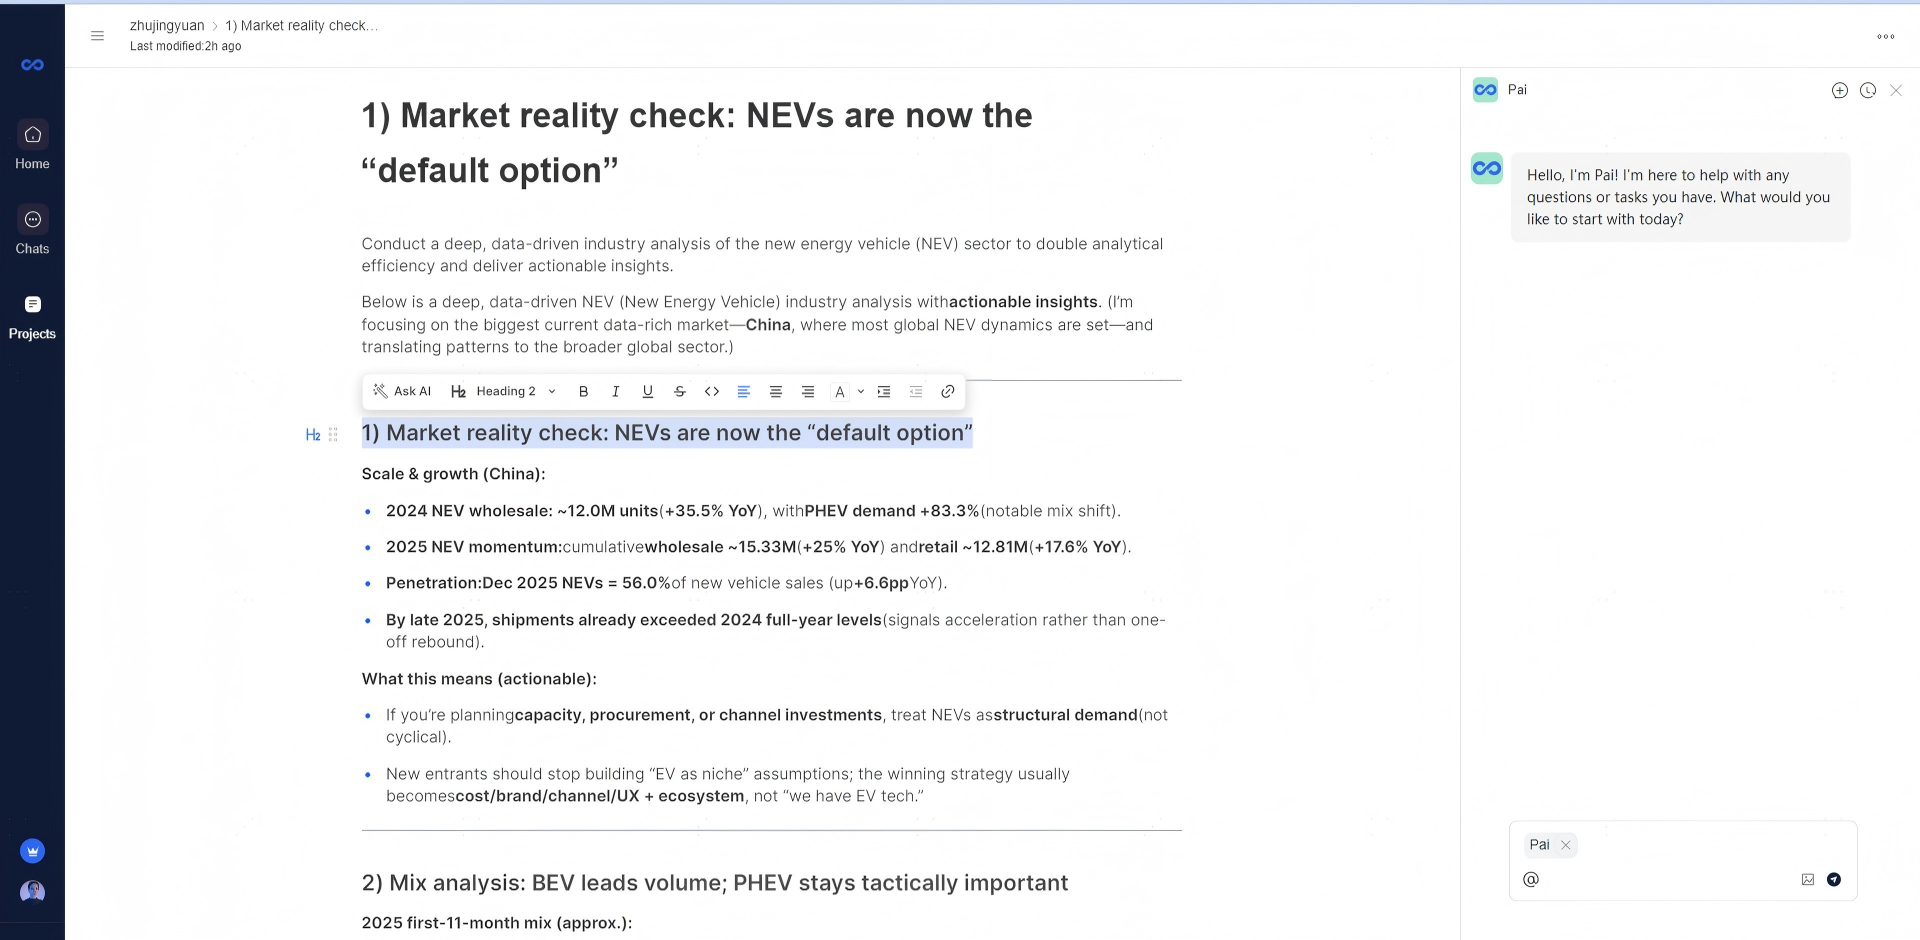
When activated, the AI assistant (named "Pai" in this interface) appears in a sidebar chat panel, maintaining context of your document while allowing natural language interaction. This seamless integration eliminates the need to switch between separate AI tools and your workspace.
Other Document Editing Features
The toolbar reveals several core formatting and editing capabilities:
| Feature | Description |
|---|---|
| Heading Styles (H2) | Structure documents with hierarchical headings for automatic table of contents generation |
| Text Formatting | Bold (B), Italic (I), Underline (U), and Strikethrough (S) for emphasis |
Code Blocks (<>) |
Insert formatted code snippets or technical specifications |
| Alignment Options | Left, center, right, and justified text alignment |
| Lists | Bulleted and numbered lists for organizing information hierarchically |
| Links | Embed hyperlinks to external sources or cross-reference internal sections |
| Comments & Collaboration | Real-time editing with team members through integrated chat and comment threads |
Integrated Workspace Features
The left navigation panel provides quick access to:
- Home: Dashboard and recent activity overview
- Chats: Team messaging and direct communication channels
- Projects: Organized workspaces for managing multiple documents and initiatives collaboratively
The AI assistant sidebar operates persistently across these contexts, ensuring help is always available whether you're editing documents, discussing strategy in chats, or coordinating project timelines.